


What Are the Diesel Engine Compression Test Specs by Model?
Last Updated: November 12, 2026
Quick Summary
Diesel compression test specifications are model-specific and live in the factory service manual for your exact engine family, model year, and CPL or calibration code, not in a generic chart. General ranges of roughly 300 to 500 psi are only sanity checks, so match the engine first and confirm whether the figure is a minimum, standard, or new-engine value.
- Compression pressure scales with compression ratio, chamber design, and displacement, so no single PSI range covers every diesel.
- A usable chart records engine family, model year or CPL, pressure figure, test conditions, and source manual.
- Find the 6.7 Cummins spec by engine serial number and CPL number in the service manual.
- Test with fuel delivery disabled, throttle open, and the same cranking revolutions for every cylinder.
- A spread guideline around 10 percent is common, but the manual's model-specific limit overrides it.
Table of Contents
- Why Diesel Compression Test Specifications Change by Engine Model
- Reading a Diesel Engine Compression PSI Chart Without Getting Burned
- 6.7 Cummins Compression Test Specs and What the Numbers Mean
- What Is the Minimum Compression for a Diesel Engine?
- Setting Up a Diesel Compression Test Kit and Test Conditions
- Step-by-Step: Running the Test and Recording Cylinder Readings
- Troubleshooting Low or Uneven Compression Readings
- Matching a Verified Replacement Engine to Your Truck's Specs
- Frequently Asked Questions
Why Diesel Compression Test Specifications Change by Engine Model
A diesel engine compression test specifications by model lookup fails the moment you treat one PSI range as gospel.
The number on the gauge only means something next to the right factory specification for that exact engine family.
Below, we break down what a diesel compression test measures, how to read a diesel engine compression psi chart, and the test conditions that make or break your readings.
What a Compression Test Actually Measures
A diesel compression test measures the peak pressure a cylinder builds during the compression stroke. That number tells you how well the piston rings, valves, and head gasket seal the combustion chamber.
It is a sealing test, not a power test. A strong reading means the cylinder holds pressure. A weak one means something is leaking.
Three things drive the result:
- Ring and cylinder wall condition
- Valve seat and head gasket sealing
- Cranking speed and engine temperature
Change any of those and the number moves. That is why test conditions matter as much as the gauge.
Why One PSI Range Cannot Cover Every Diesel
General guidance puts most diesels somewhere between 300 and 500 psi, according to CENEX diesel compression test guidance. Other sources cite 350 to 450 psi.
Compression pressure scales with compression ratio, combustion chamber design, and engine displacement.
The Cummins compression testing reference from 4BT Engines labels its 350 psi figure as unofficial for one engine configuration. That is the honest position.
Reading a Diesel Engine Compression PSI Chart Without Getting Burned
A diesel engine compression psi chart is only useful when every row carries four things: the engine family and model year, the pressure figure, the test conditions behind it, and the source manual it came from. A chart missing any of those is decoration.
Here is the structure a usable chart follows, with the context fields that make each number comparable:
| Field | What It Records | Why It Matters |
|---|---|---|
| Manufacturer and engine family | e.g., Cummins 6.7L ISB, Detroit DD15, Duramax LML | Pressure is a design output of the engine family |
| Model year / CPL or calibration | The exact configuration | Pistons, heads, and cam timing change across years |
| Pressure figure | Minimum, standard, or new-engine value | A minimum and a new-engine value are not the same pass mark |
| Engine temperature | Cold or warm, as the manual states | Temperature shifts the reading |
| Cranking speed | RPM the starter must achieve | Slow cranking lowers pressure |
| Adapter location | Injector port or glow-plug port | Port volume affects the reading |
| Source manual | Publication number and revision | The only authority for that engine |
Most guides publish a single range and skip every field in that table. That is why a reader with a healthy engine can convince themselves it is worn out, or a reader with a worn engine can talk themselves into a pass.
What the Pressure Figure Actually Represents
A specification can be written three different ways, and mixing them up is a common error:
- Minimum specification, the lowest pressure the manufacturer accepts before the engine is out of spec. This is the pass/fail line.
- Standard or nominal value, the pressure a healthy engine of that model typically produces. Useful for judging how far a cylinder has fallen, not for pass/fail.
- New-engine value, the pressure on a freshly built engine. A high-mileage engine can be well above minimum and still far below new.
A chart that lists one number without labeling which of the three it is has not told you whether your engine passes. Match the model first, confirm which figure you are holding, then run the procedure exactly as the manual describes.
Building the Model-Specific Lookup
Because no single public chart covers every diesel, the practical approach is to build your own lookup from factory service manuals. For each engine you work on, record:
- Engine serial number, CPL number, or calibration code
- The manual's compression test section and publication revision
- The minimum specification and any cylinder-variation limit
- Required engine temperature and cranking speed
- Adapter location and any special tooling
That sheet becomes your diesel engine compression test specifications by model reference and stays valid for every unit of that configuration you test. Two engines with the same displacement can carry different pistons, heads, and expected pressure, so match against the CPL or calibration code, not the displacement.
Watch out: quoting a spec from a forum thread instead of the manual is the fastest way to condemn a healthy engine or pass a worn one.
6.7 Cummins Compression Test Specs and What the Numbers Mean
The 6.7 Cummins compression test specs live in the factory service manual for your specific model year and CPL number, not in a generic chart.
Here is the practical workflow:
- Find the engine serial number and CPL number
- Open the service manual section for compression testing
- Record the minimum specification and the variation limit
A 6.7 Cummins compression test specs lookup should always start with the CPL, since two engines with the same displacement can carry different pistons, heads, and expected pressure.
Watch out: quoting a spec from a forum thread instead of the manual is the fastest way to condemn a healthy engine or pass a worn one.
What Is the Minimum Compression for a Diesel Engine?
Minimum compression for a diesel engine is the lowest pressure the manufacturer allows before the engine is considered out of spec.
General references put the floor somewhere in the 300 to 350 psi band for many engines. Treat that as a rough sanity check only.
The real rule is relative. A cylinder that reads far below its neighbors is a problem even if it clears the minimum.
Setting Up a Diesel Compression Test Kit and Test Conditions
A diesel compression test kit needs a diesel-specific gauge, the correct thread adapter for your injector port or glow-plug port, and a way to disable fuel delivery. Gasoline gauges top out too low for diesel pressures.
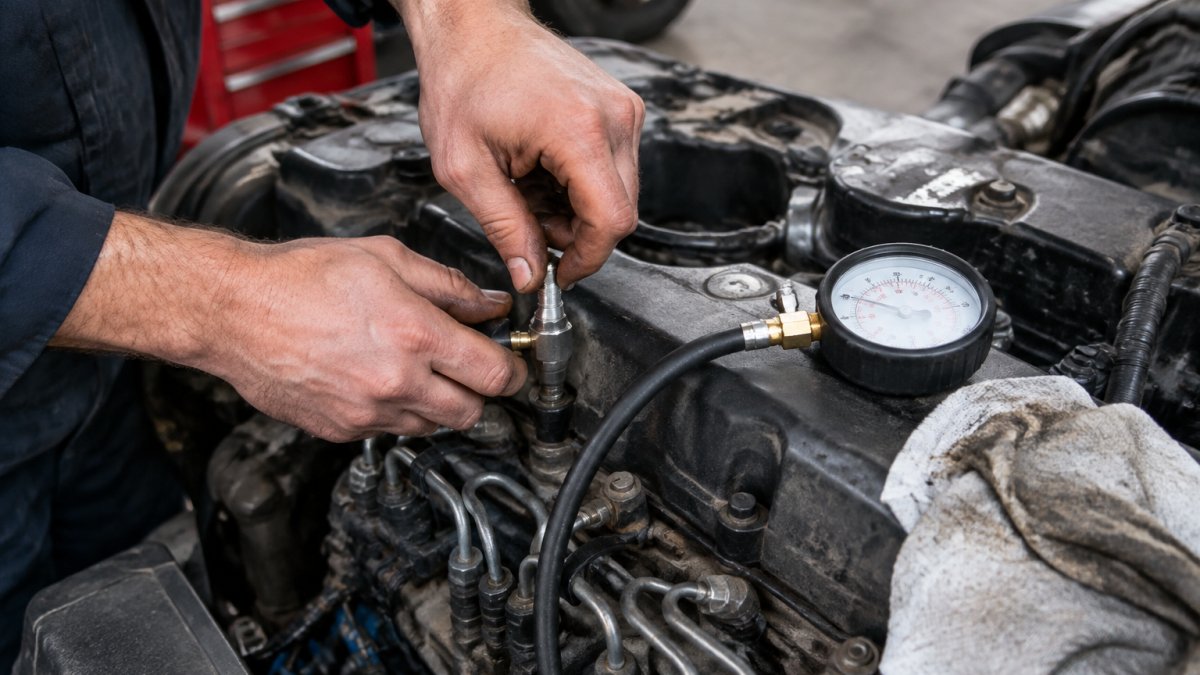
Set these conditions before you crank:
- Engine at the temperature the manual specifies, cold or warm
- Battery fully charged and the starter turning at the required cranking speed
- Fuel delivery disabled at the injectors or fuel system
A common mistake is testing a warm engine when the manual calls for cold, or the reverse. Match the manual and write the conditions down next to your numbers.
Step-by-Step: Running the Test and Recording Cylinder Readings
Run the test one cylinder at a time and record every reading as you go.
- Warm or cool the engine to the manual's spec
- Disable fuel delivery to all cylinders
- Remove the injector or glow plug from cylinder one
- Thread the adapter in by hand, then snug it
- Crank the same number of revolutions for every cylinder
- Read the gauge and write the number down
- Repeat for each cylinder in order
- Compare every reading to the factory minimum and to each other
Repeat the test on any cylinder that reads low. A single odd number can be a bad adapter seal, not a bad engine.
Record readings in a simple grid: cylinder number, pressure, and notes. That sheet is what you compare against the diesel engine compression test specifications by model when you decide whether the engine stays in the truck.
Troubleshooting Low or Uneven Compression Readings
Low or uneven readings point to a sealing fault, but the cause can sit outside the engine. Work the decision tree in order so you do not pull a head to fix a leaking adapter.
Step 1: Rule Out the Test Itself
Before you condemn anything mechanical, confirm the reading is real:
- Adapter seal, a leaking adapter at the port drops the number. Re-seat it and retest the same cylinder.
- Cranking speed, a weak battery or dragging starter turns the engine too slowly and lowers every reading. Confirm the starter reaches the manual's cranking speed with a fully charged battery.
- Fuel delivery, if fuel is not fully disabled, the reading is invalid. Verify at the injectors or fuel system, not just at the key.
Step 2: Separate Absolute Pressure From Cylinder Spread
Once the test is sound, judge the results two ways at once:
- Absolute pressure, is every cylinder at or above the factory minimum for that model?
- Cylinder spread, how far does the lowest cylinder fall below the highest?
A common pattern is a spread guideline around 10 percent between the highest and lowest cylinder, but the model-specific limit in the service manual overrides any general rule. A wide spread matters even when every cylinder clears the floor, an engine that is not sealing evenly gets worse under load.
Step 3: Localize the Fault
| Pattern | Likely Cause | Next Check |
|---|---|---|
| One cylinder low, others normal | Valve seat, head gasket, or piston ring on that cylinder | Leak-down test on the low cylinder |
| Two adjacent cylinders low | Head gasket breach between them | Coolant and combustion gas check |
| All cylinders low and even | Piston ring and cylinder wear, or a test-condition error | Recheck cranking speed and temperature first |
| Wide spread with no single outlier | Uneven wear across the block | Leak-down test across all cylinders |
Step 4: Choose the Next Test
A compression test tells you whether a cylinder seals, not where it leaks. When a reading is abnormal, the next step is usually a cylinder leak-down test, which pressurizes the cylinder and shows whether air escapes past the rings, intake valve, exhaust valve, or head gasket.
Use compression testing to screen, leak-down to localize, and the service manual to set the pass mark. Our guide on how to troubleshoot fuel starvation on diesel trucks walks through that check. If the fault traces to the injectors, our step-by-step guide on how to test diesel injectors on heavy trucks shows the procedure. When the head is the suspect, review the cylinder heads for Cummins and Detroit engines options and fitment details.
Matching a Verified Replacement Engine to Your Truck's Specs
A failed compression test is a buying decision, not a repair order.
That means the same engine model, CPL number, and sensor and accessory layout.
If you are sourcing a replacement, our guide on how to source Cummins engines for working trucks covers the verification steps. You can also see a concrete example in this 2014 Cummins ISX15 CPL 3937 engine assembly, tested, inspected, and backed by a standard 6-month warranty with core exchange.
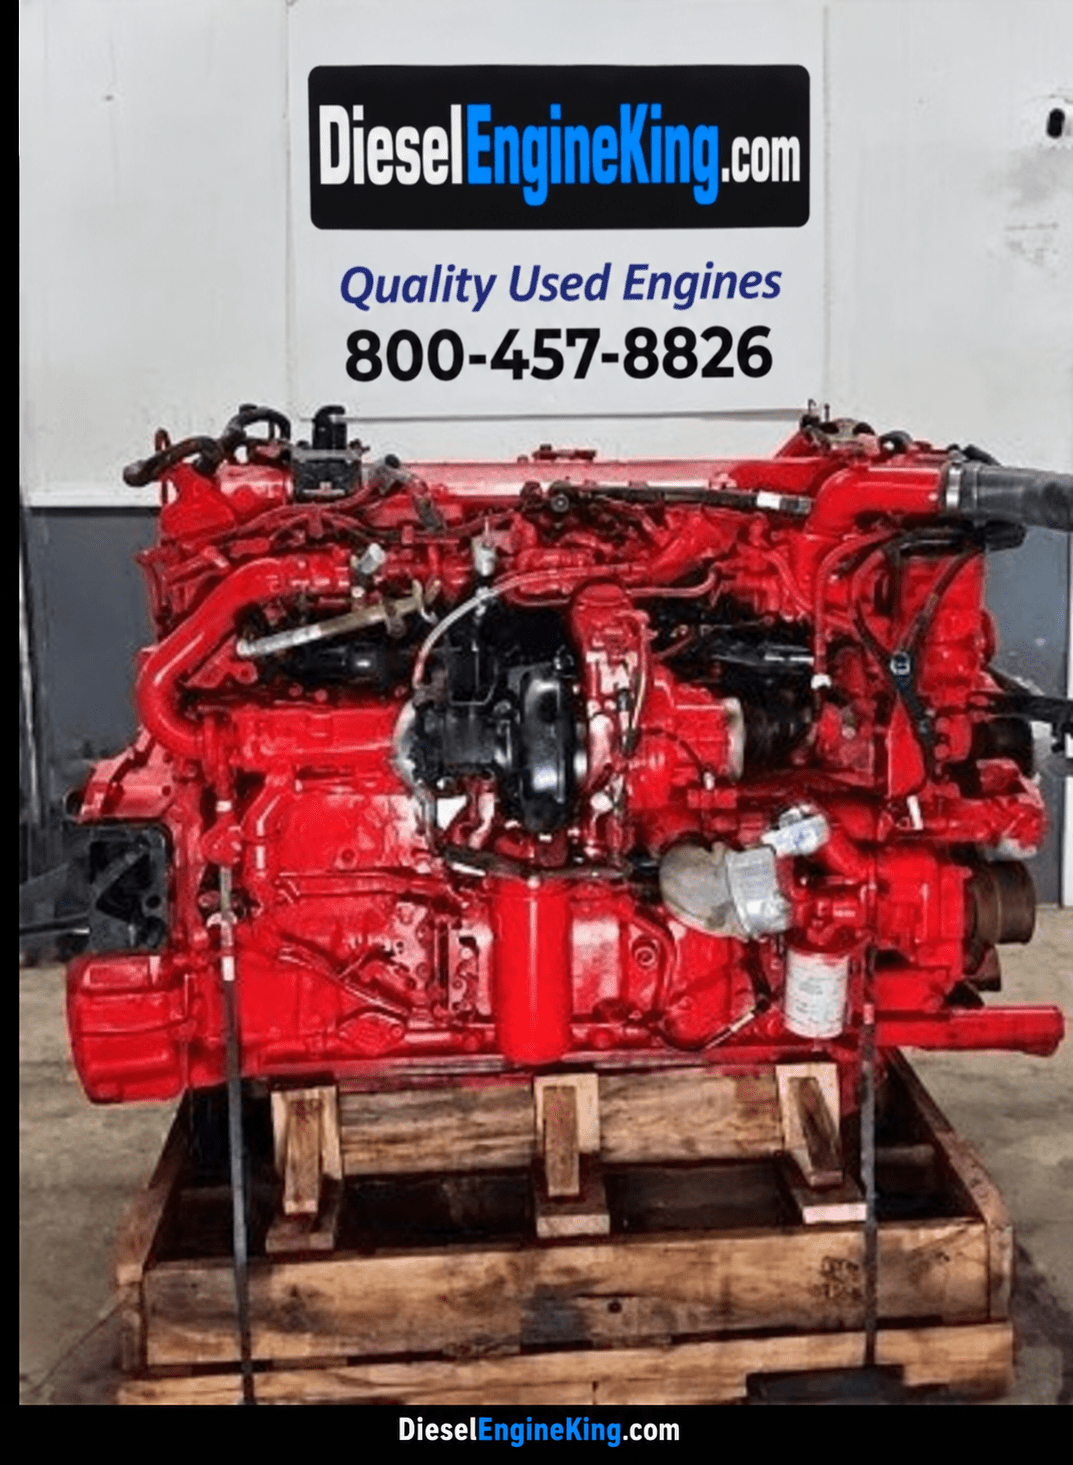
The diesel engine compression test specifications by model tell you whether your current engine is done.
A worn engine does not fix itself, and guessing at a replacement costs more than getting it right the first time.
Frequently Asked Questions
What is a good diesel compression test reading?
A good reading is one that meets the factory specification for that exact engine model, not a universal number. General guidance from CENEX puts most diesel engines in the 300 to 500 PSI range, while other sources cite 350 to 450 PSI or 350 to 475 PSI depending on application. The only figure that counts is the one in your engine's service manual. A reading near the low end of that model's range, combined with even numbers across all cylinders, is a healthier sign than a high number with one weak cylinder.
What is the minimum compression for a diesel engine?
There is no single minimum that applies across diesel engines. Each manufacturer publishes a minimum specification in the service manual for that engine family, and the figure changes with compression ratio, displacement, and application. A common mistake is applying a general 300 PSI floor to an engine whose manual calls for something higher. Always compare your gauge readings against the model-specific minimum, and treat any cylinder that falls below it as a reason to investigate further before buying or rebuilding.
How much variation between cylinders is acceptable on a diesel compression test?
Most technicians work to a consistent rule rather than a vague impression: cylinders should read within roughly 10 percent of each other, and within 10 percent of the highest reading on that engine. A single cylinder that trails the rest by more than that points to a localized problem such as a worn piston ring, a leaking valve, or a bad head gasket. Even readings across all cylinders, even if slightly low, usually indicate normal wear rather than damage.
How do you find the correct compression test specification for a diesel engine model?
Start with the engine's service manual or technical manual, using the engine model, serial number, and CPL or engine family code to pull the right page. Manufacturer specification sheets and factory service literature list the minimum pressure and test conditions, including cranking speed and engine temperature. If you cannot locate the manual, a reputable engine supplier can often confirm the configuration and testing details for the exact unit before you buy, which saves guesswork on a replacement.


